In the previous post we saw how to connect a «thing» via HTTP using Ultralight 2.0 with a FIWARE architecture. In this post we will do exactly the same but using the MQTT transport protocol, but, why?
The reason is because MQTT is a lighter transport protocol than HTTP in terms of data sending. The bandwidth is something critical in the Internet of Things, because usually IoT devices are often decentralized and need their own data connection, like a SIM card or similar. These M2M (machine to machine) cards have a proportional costs to the used bytes, so it is worth be optimized.
A bit of introduction to MQTT
MQTT (Message Queue Telemetry Transport) is a protocol used for communication between machines (M2M), something common in the IoT. It is oriented to the communication of sensors, using low bandwidth y it does not require great hardware requirements, such as RAM or CPU.
The MQTT architecture follows a star topology, with a central node or «broker«, in charge of managing the network and trasnmitting the messages. In addition, the communication is based in «topics«. The client creates the topic and publishes his message in that topic, and everyone who wants to receive the message has to be subscribed to the topic. This enables the communication one-to-one or one-to-many.

What will we need?
We will need exactly the same that in the previous post:
- An Intel Edison board and a temperature sensor.
- A Cloud instance, or a server with access via SSH
- Intel XDK or a similar IDE to program our «thing»
- FIWARE Generic Enablers: Orion Context Broker, IoT Agent Ultra Light 2.0
The required steps will be the same that in the previous post, but changing a couple of configurations. The first one to modify is the one of the docker compose, where the MQTT Broker will be added:
[codeblocks name=’Uno’]
Our IoT Agent configuration will maintain exactly the same that in the previous example:
[codeblocks name=’Dos’]
Programming the Intel Edison
In order to implement MQTT over our Intel Edison we will need to use the MQTT library of npm and connect to the server. We will include in the code the following lines:
[codeblocks name=’Tres’]
And in the board, via SSH, we will need to execute the following command:
[codeblocks name=’Cuatro’]
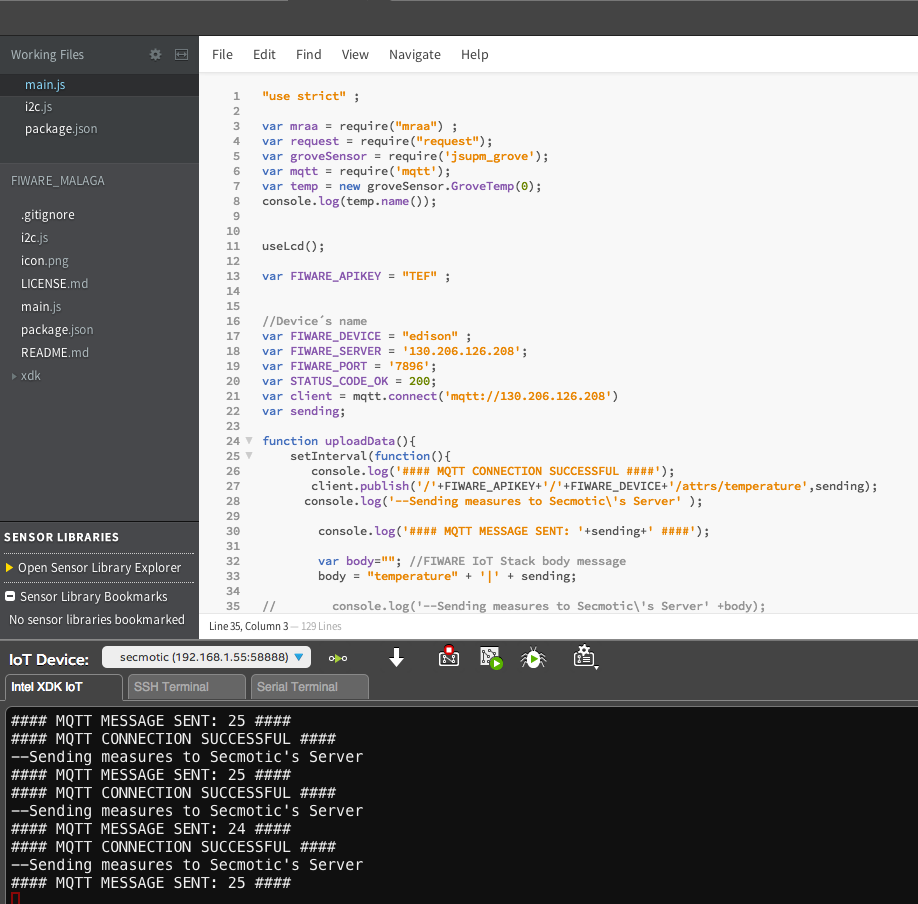
Finally, we will substitute the implementation of Ultralight 2.0 over HTTP for the implementation of Ultralight 2.0 over MQTT
function uploadData(){
    setInterval(function(){
       console.log('#### MQTT CONNECTION SUCCESSFUL ####');
       client.publish('/'+FIWARE_APIKEY+'/'+FIWARE_DEVICE+'/attrs
/
temperature',sending);
       console.log('#### MQTT MESSAGE SENT: '+sending+' ####');
	},5000)
}
And with this we will be actually sending the information to the server, as it can be observed in the logs.
We have seen how to implement the MQTT in a basic way.
Stay tuned to the Secmotic’s blog! We will release soon bigger and more useful projects with MQTT